How to Prepare Your Chicago Home for Solar Panel Installation
Going solar is a long-term investment. Before you start comparing companies or requesting quotes, a few things in your home need to be checked first. Skipping this step is the most common reason installations get delayed or cost more than expected.
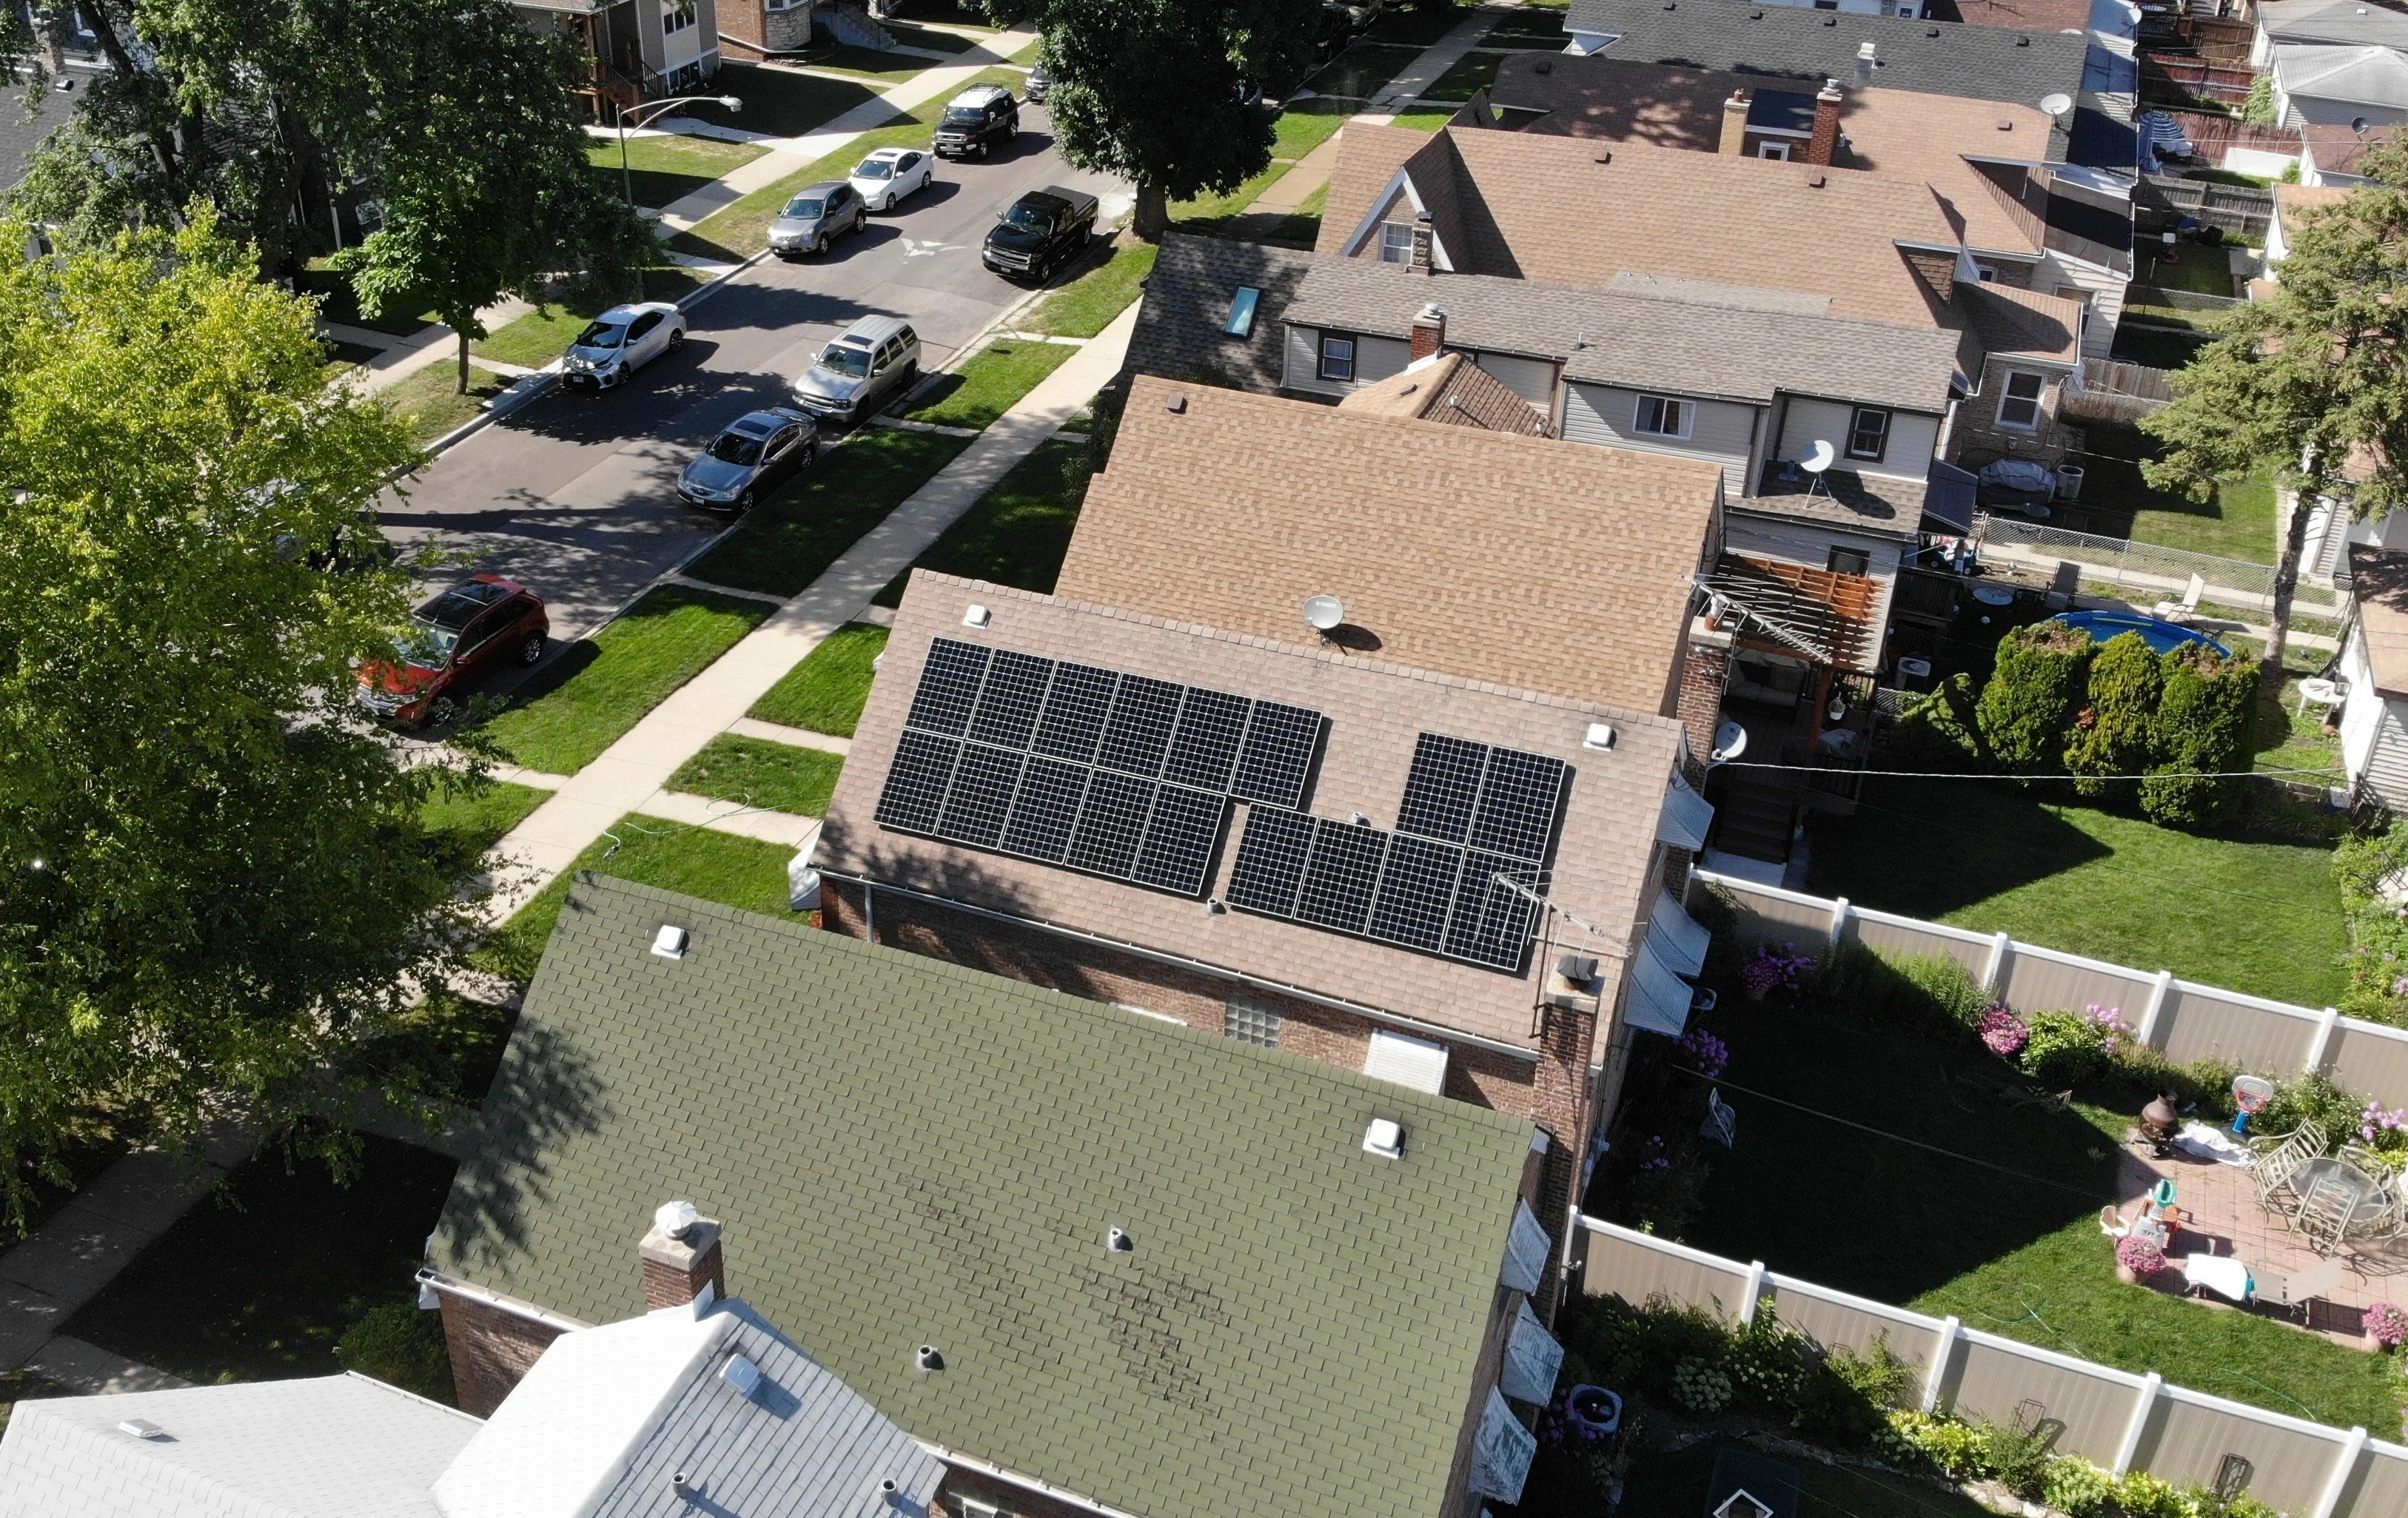
Going solar is a long-term investment. Before you start comparing companies or requesting quotes, a few things in your home need to be checked first. Skipping this step is the most common reason installations get delayed or cost more than expected.
Here is what to do and in what order.
Step 1 — Start With Your Roof
How Much Life Does Your Roof Have Left?
Solar panels last 25 to 30 years. Your roof needs to last alongside them.
If your roof fails after panels are installed, you pay for panel removal, roof replacement, and panel reinstallation as three separate jobs. In Chicago, reinstalling solar equipment after a roof replacement also requires a separate city permit — more time, more cost, entirely avoidable.
If your roof is over 15 years old or showing visible wear, get a roofing assessment before you request a solar quote.
Source: City of Chicago Department of Buildings (chicago.gov)
Which Direction Does Your Roof Face?
South-facing roofs produce the most solar energy in Chicago. If your roof faces east or west, panels will still work — but they produce roughly 15 to 20% less than a south-facing setup.
Before your first installer conversation, take note of which direction your main roof slopes face. It takes two minutes and makes the conversation more productive.
Source: Illinois Renewables (illinoisrenew.org)
Step 2 — Check Your Electrical Panel
Chicago has a large number of older homes still running on 100-amp electrical service. Most solar installations require a 200-amp panel. If yours needs upgrading, it has to happen before installation — not on the day.
Find your electrical panel, open the door, and check the amperage rating on the label. If it says 100 amps, mention it to every installer you speak with from the start.
Source: Green Tech Construction Chicago (gtconstruction.solar)
Step 3 — Know the Real Timeline
The installation itself takes 1 to 3 days. Getting to that point in Chicago takes 60 to 90 days. Here is where that time goes.
City Permit
Every Chicago solar installation requires a permit from the Chicago Department of Buildings. Most standard residential systems qualify for the city's Express Permit Program, which can issue same-day approval. All installations must comply with the 2018 Chicago Electrical Code and 2019 Chicago Building Code, with structural drawings signed by an Illinois-licensed architect or structural engineer.
Source: City of Chicago (chicago.gov), Solar Permit Solutions (solarpermitsolutions.com)
ComEd Interconnection
After the city permit clears and installation is complete, a separate ComEd application is required before your system can legally send power to the grid. This adds additional weeks to the timeline.
Ask every installer you speak with: when do you submit the ComEd interconnection application, and what is your typical contract-to-activation timeline in Chicago?
Three Things to Do Before You Call Anyone
Check your roof age and condition. If it is over 15 years old or showing wear, get a roofing assessment first.
Open your electrical panel and check whether it is 100-amp or 200-amp service.
Note which direction your roof faces.
Those three steps put you ahead of most Chicago homeowners walking into their first solar conversation.
Get Started With Quality Solar
We assess your roof, electrical panel, and permit requirements before we design anything or give you a number.
Get started at qualitysolarepc.com/contact